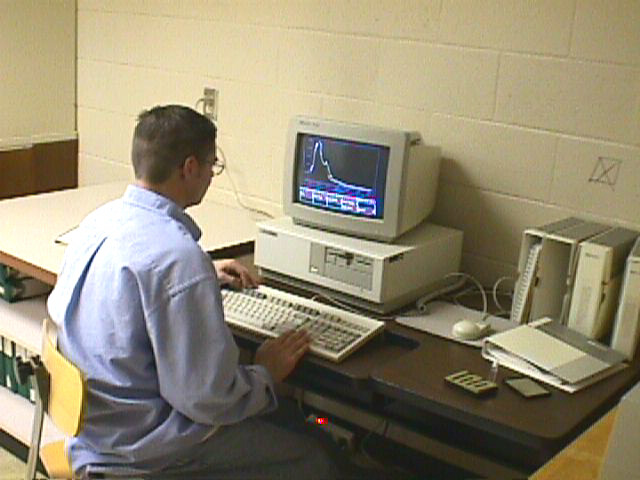
| Instructions |
UV/visible
spectrophotometer
|
Procedure for Obtaining a Visible Spectrum
 1.
Sign log book.
2. Turn on monitor. Program selector screen should appear.
3. Using the arrow keys, enter Operator Name if desired.
If not, go to General Scanning and hit enter.
4. Using the function keys, hit F7 User Menu to turn on the
lamp.
5. Using the arrow keys, go to Lamp On/Off, hit enter, followed
by Y for yes. This will turn on the lamp. This will
take approximately 5 minutes. Be patient. The Lamp light will
come on on the instrument when ready.
6. Check the wavelength range. F4 allows you to change
the acquisition range if needed.
7. Place blank in the sample holder, aligning the clear windows with
the optical path (video).
8. Measure the blank by hitting the F2 key.
9. Remove the blank, and place the sample in the sample holder.
10. Measure sample by hitting the F1 key.
11. Mark peaks if desired by hitting F2 key (cursor).
12. To print a spectrum, hit F9 for hardcopy. Highlight Print
Spectrum and hit enter. When finished printing, hit ESC.
13. When finished, F10 returns to the acquisition screen.
Turn off lamp, by hitting F7 and using the arrow keys, go to Lamp
On/Off, hit enter, followed by Y for yes. This will turn
off the lamp.
14. F10 will exit the program, hit enter.
15. Turn off the monitor only. Leave the computer on. Sign
out in the log book.
revised 11/22/02